Store-bought underwear sssuuuccckkksss. It’s like hunting for a mythical creature: finding the right cut with the right rise and the right waistband and the kind of legbands that don’t dig into your legs in the right fabric and the right color in “your size”… It’s impossible. I have a pathetic 2 pair of underwear that don’t make me want to karate chop someone in the face.
It’s no shock then that I’ve been wanting to sew my own underwear for a while now, and I’ve finally tackled it. I procrastinated because I knew how much finicking I’d have to do to get it right, but my loathing for store-bought reached a tipping point.
About the Pattern
I bought Sinclair’s Kiki Briefs a while ago when they were released. I was drawn to the number of options included. Low, medium, and high rise, lace finishes, elastic finishes, and fabric band finishes would give me plenty of potential adjustments to work with.
Sinclair pattern instructions still don’t flow very well, in my opinion. Lots of doubling back and glancing forward and then back again.
After making at least seven pairs at this point, I took to skipping most (if not all) of the marked notches and adding my own notches just for center points on the front/back and bands. I mean, that is one of the joys of sewing for me: doing whatever the heck I want.
About the Fabric
Made of Love had a pre-order special for 12 oz. cotton lycra. At $9.25/yd, it’s more than I typically like to spend on cotton lycra since it’s one of my least favorite fabrics. But it works so well for bands and fitted garments even if it is a pain to work with. So I took the bait and ordered five yards in five different solid colors.
- 95% Cotton, 5% Spandex
- 12 oz.
- 100% Horizontal / 100% Vertical Stretch
- Dark Teal
Dusty Rose
Black
2-tone Charcoal
Heather Gray
I can get about four pairs of briefs out of one yard of fabric, which brings each pair in at around $2.31, which is cheaper than anything worth buying from a store! And these are fully customized to my body and preferences. Sewing is awesome.
As expected, the edges rolled viciously, but after pressing, even the narrow leg bands were surprisingly well-behaved. The rolling wasn’t so bad on the pattern pieces I cut out to begin with; it was mostly the edges of the fabric before I cut anything out. So that was a nice surprise.
Quality-wise, I guess it’s nice? Cotton lycra always looks and feels cheap to me. It is really comfortable though. I wore a pair of the briefs I made all day yesterday and I was very comfortable: breathable, stretchy, soft—everything you want in a pair of undies.
The Lace
Purchased from Sew Sassy. They have a wide selection of lace and notions for swimwear and lingerie. Their website harkens from the early 90’s but it at least functions. If you can deal with that, it’s the best resource I’ve found so far for stretch lace.
The Makes
Version 1
I sliced into some leftover cotton lycra I had laying around from other projects for my first go using the following options:
- Size 6
- View A/B (low rise)
- floating gusset
This was a heavily experimental version. I didn’t bother with a waistband at this point and I tested lace around one leg opening and then simply overlocking the other one to see what would happen.
Verdict: No good. On any level.
Version 2
I seem to have lost this pair… Or this was a base I carried over to version 3? Can’t remember, but in any event, I have no photo.
- Size 8
- View C (high rise)
- floating gusset
- Lace bands
Verdict: Getting closer. I didn’t like the rise and the leg lace according to the pattern was way too short.
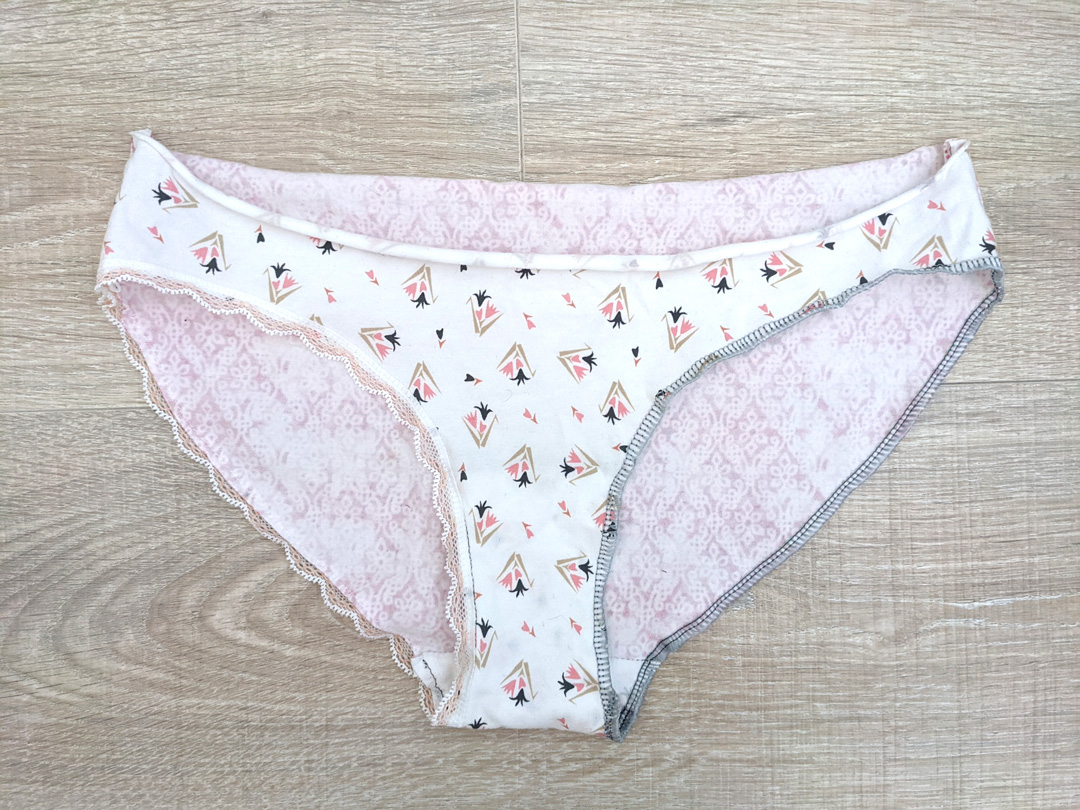
Version 3
- Size 8
- View C (high rise)
- floating gusset
- Lace bands
- -1″ all around the top
- Cut leg lace at 22″ and attach on flat
- Cut waist lace at 22″
Verdict: A little closer. The leg lace was okay but the leg openings dug into my body. Attaching on the flat didn’t give the results I was hoping for. The waist lace was way too short.
Version 4
- Size 8
- View C (high rise)
- floating gusset
- Self-drafted fabric leg bands @ 95% leg opening (19″ including seam allowance)
- -1″ all around the top
- Self-drafted waistband (Pattern @ 28″ x 4″ with 0.25″ seam allowance)
- Scooped 0.25″ from front leg openings
- Did NOT straight stitch gusset edges. The straight basting stitches constrict the leg openings which exacerbates the digging-into-my-legs issue.
Verdict: Loved everything. Tested attaching one leg band with my serger and one with my sewing machine. The sewing machine worked way better. The serger eats up too much of the band and adds too much bulk.
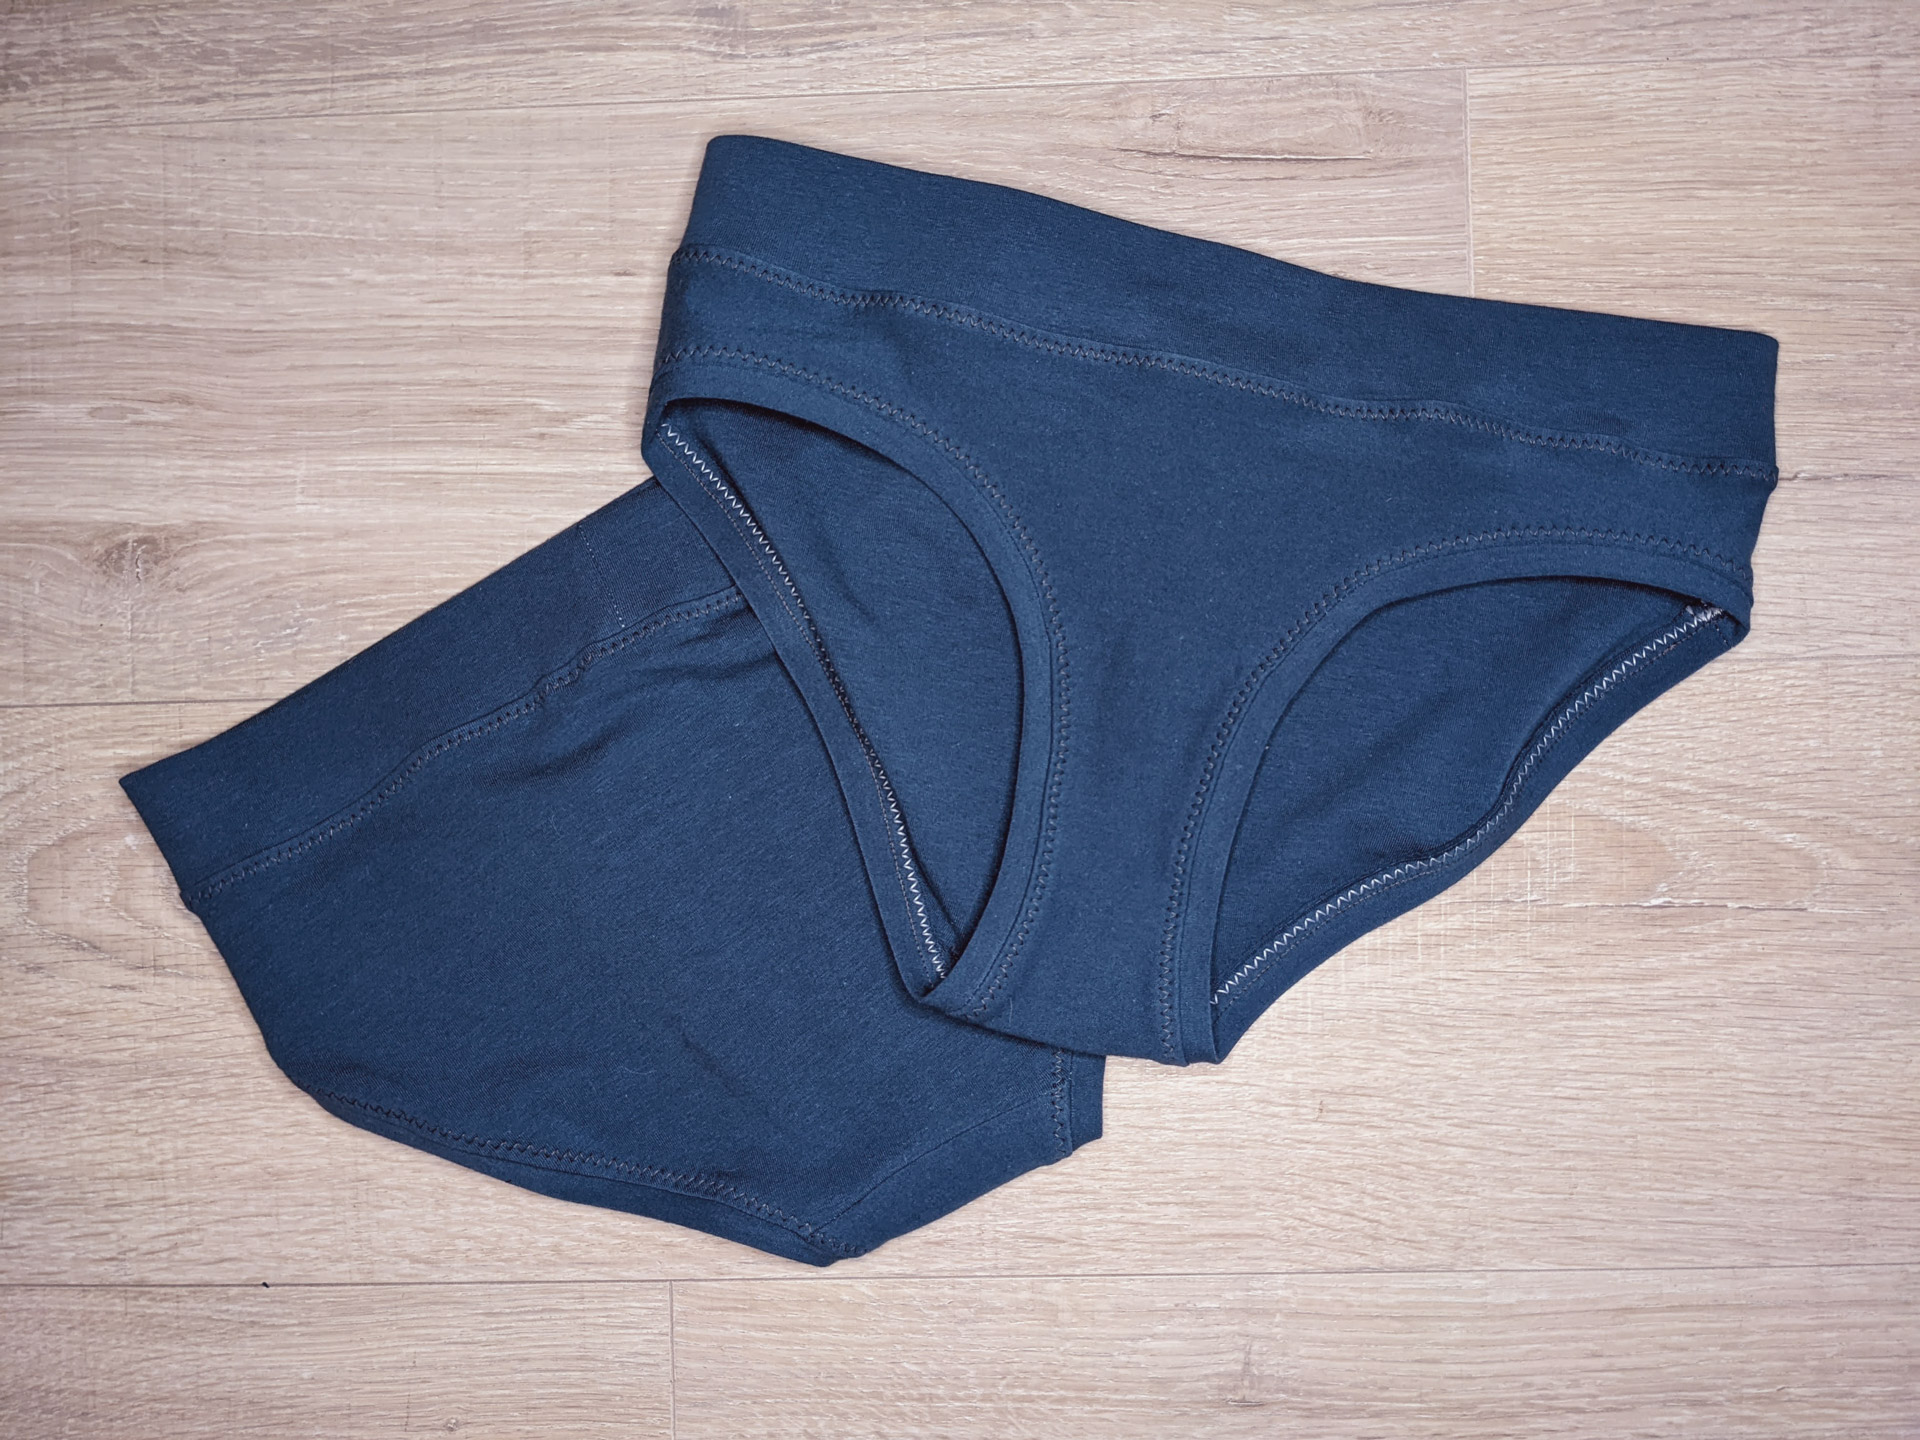
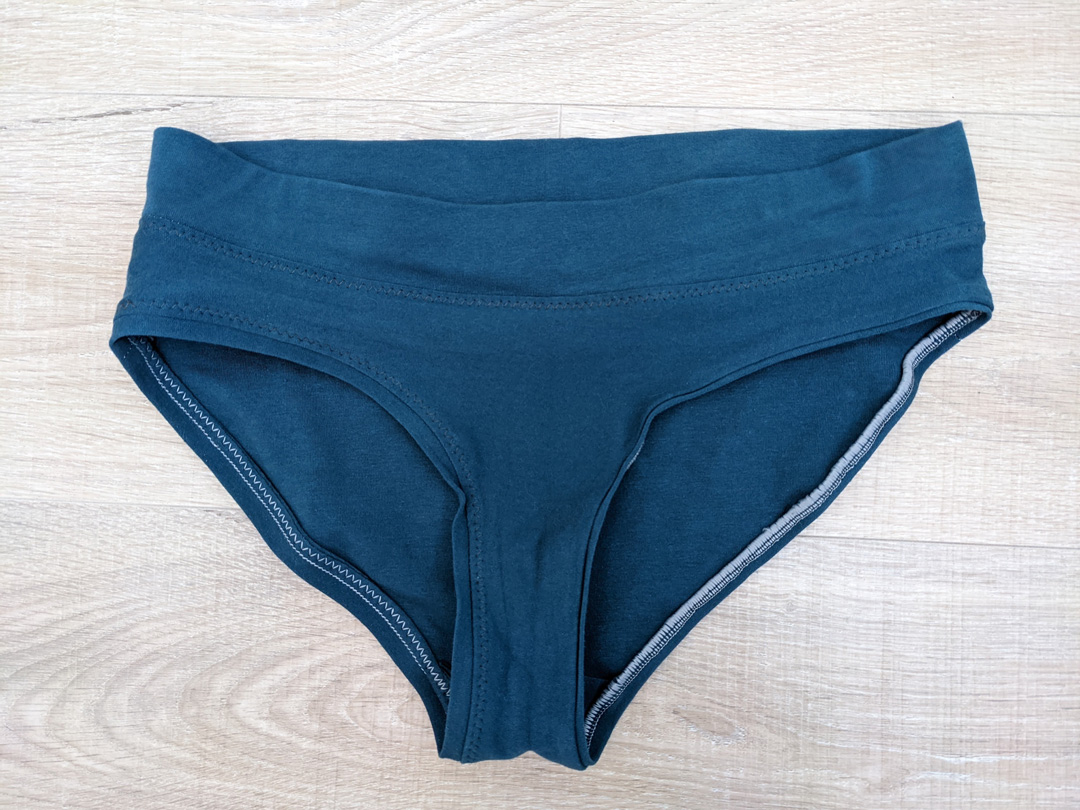
FINAL
- Options from version 4
Construction:
- Serge gusset edge and waistband. Use sewing machine for everything else.
- Didn’t bother finishing sewing machine edges; just letting the topstitch handle controlling those raw edges.
- Do not baste/straight stitch gusset edges.
- Sew with woolly nylon thread in bobbin of sewing machine and lower looper on serger for extra stretchy seams. (On my black versions, I’m threading my serger completely with woolly nylon—lower looper and both needle threads.)
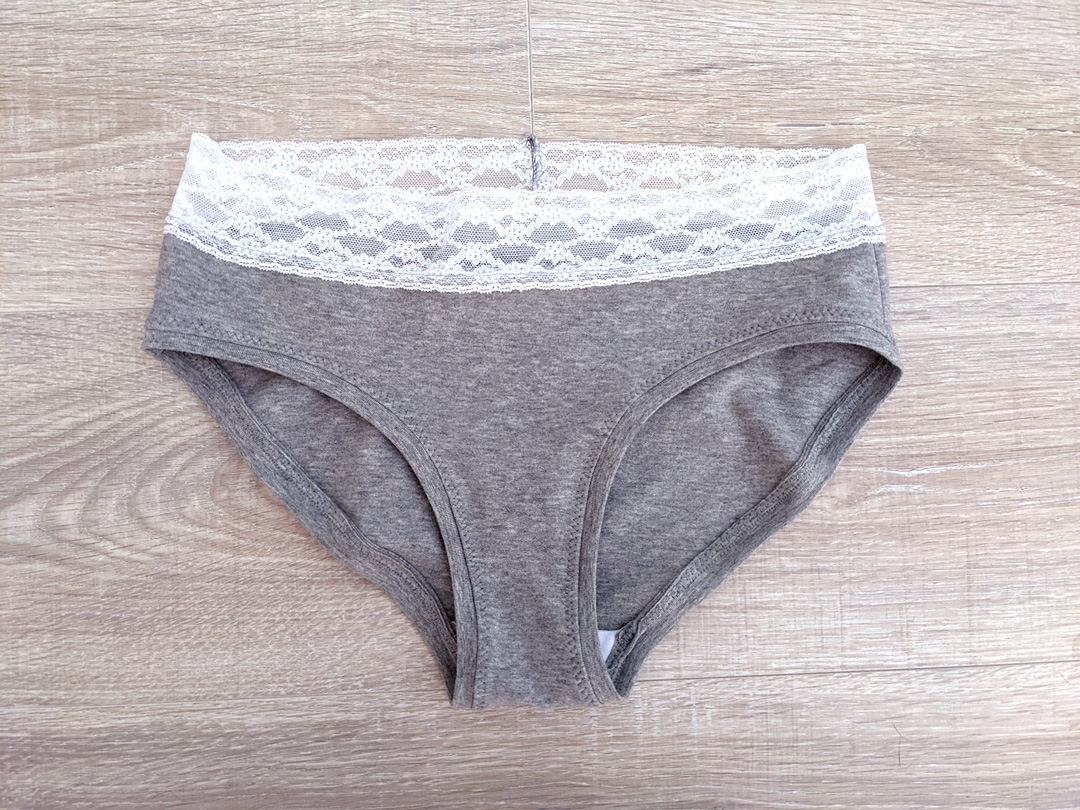
Verdict: Quite happy, and quite surprised how much I like the fabric bands. I thought they would be among the worst at digging into my legs—which is one of my major gripes about store-bought underwear. That, and the back rise doesn’t rise enough and so always creeps down my considerable derriere throughout the day.
I’m also surprised at what the correct fit can do to eliminate panty-lines. What a lovely side effect.
Notes for Upcoming Versions
I do want to give the lace trim another shot now that I have happy measurements for the waistband and legbands.
I also have a nice lightweight jersey I think I want to try as a gusset and see if it eliminates some bulk.
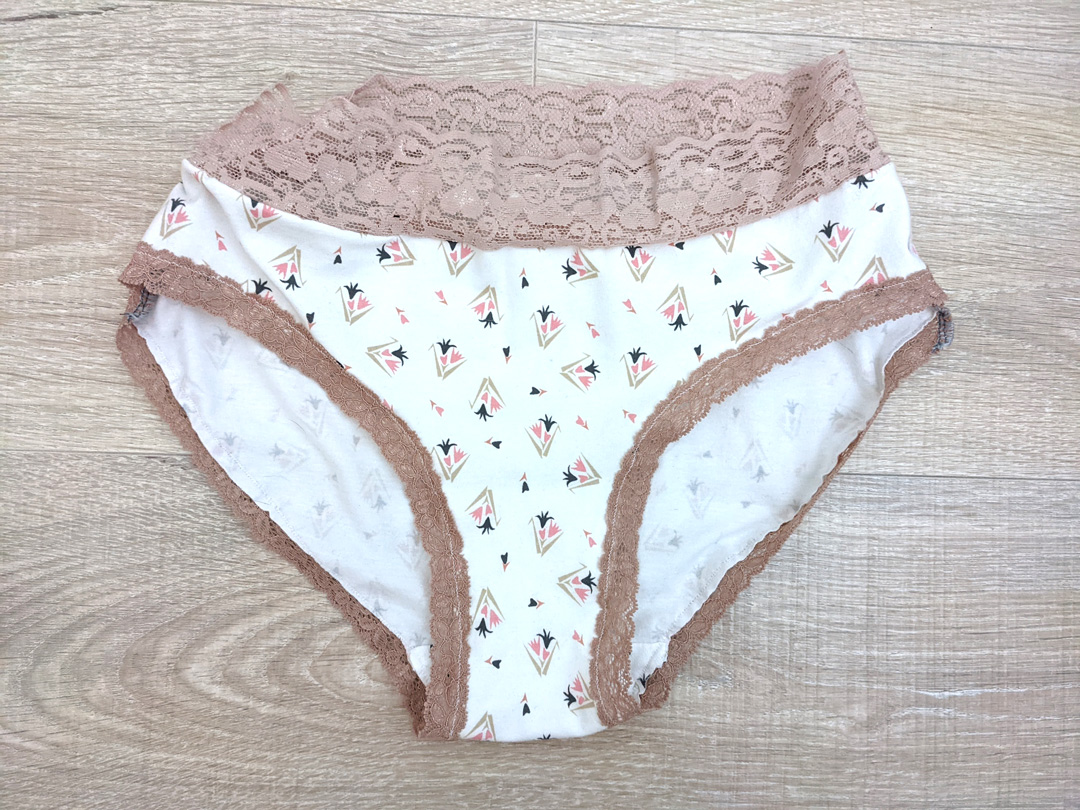
Final Variation
- Same options as final except…
- Waist lace cut at self-drafted waistband length
- gusset made of a lighter jersey (instead of the 12 oz cotton lycra)
Verdict: I thought the narrower waistband as a result of the width of the lace I used wouldn’t rise high enough, but I’ve been wearing them all day and they stay in place very well. I love the look of the lace, but it’s a little more of a pain to pin before sewing. I’m also happy with the gusset. I wasn’t sure if the jersey would breathe well or not, but it seems to be fine. The lighter fabric reduces seam bulk.
I might try another draft adding an inch back along the top to compensate for the 1″ lace (vs. the 2″ waistband.) That’s a pretty considerable maybe, though, since I’m not having issues wearing them and I will probably mostly make fabric bands instead of lace. I could just hunt for some 2″ lace instead. We’ll see.
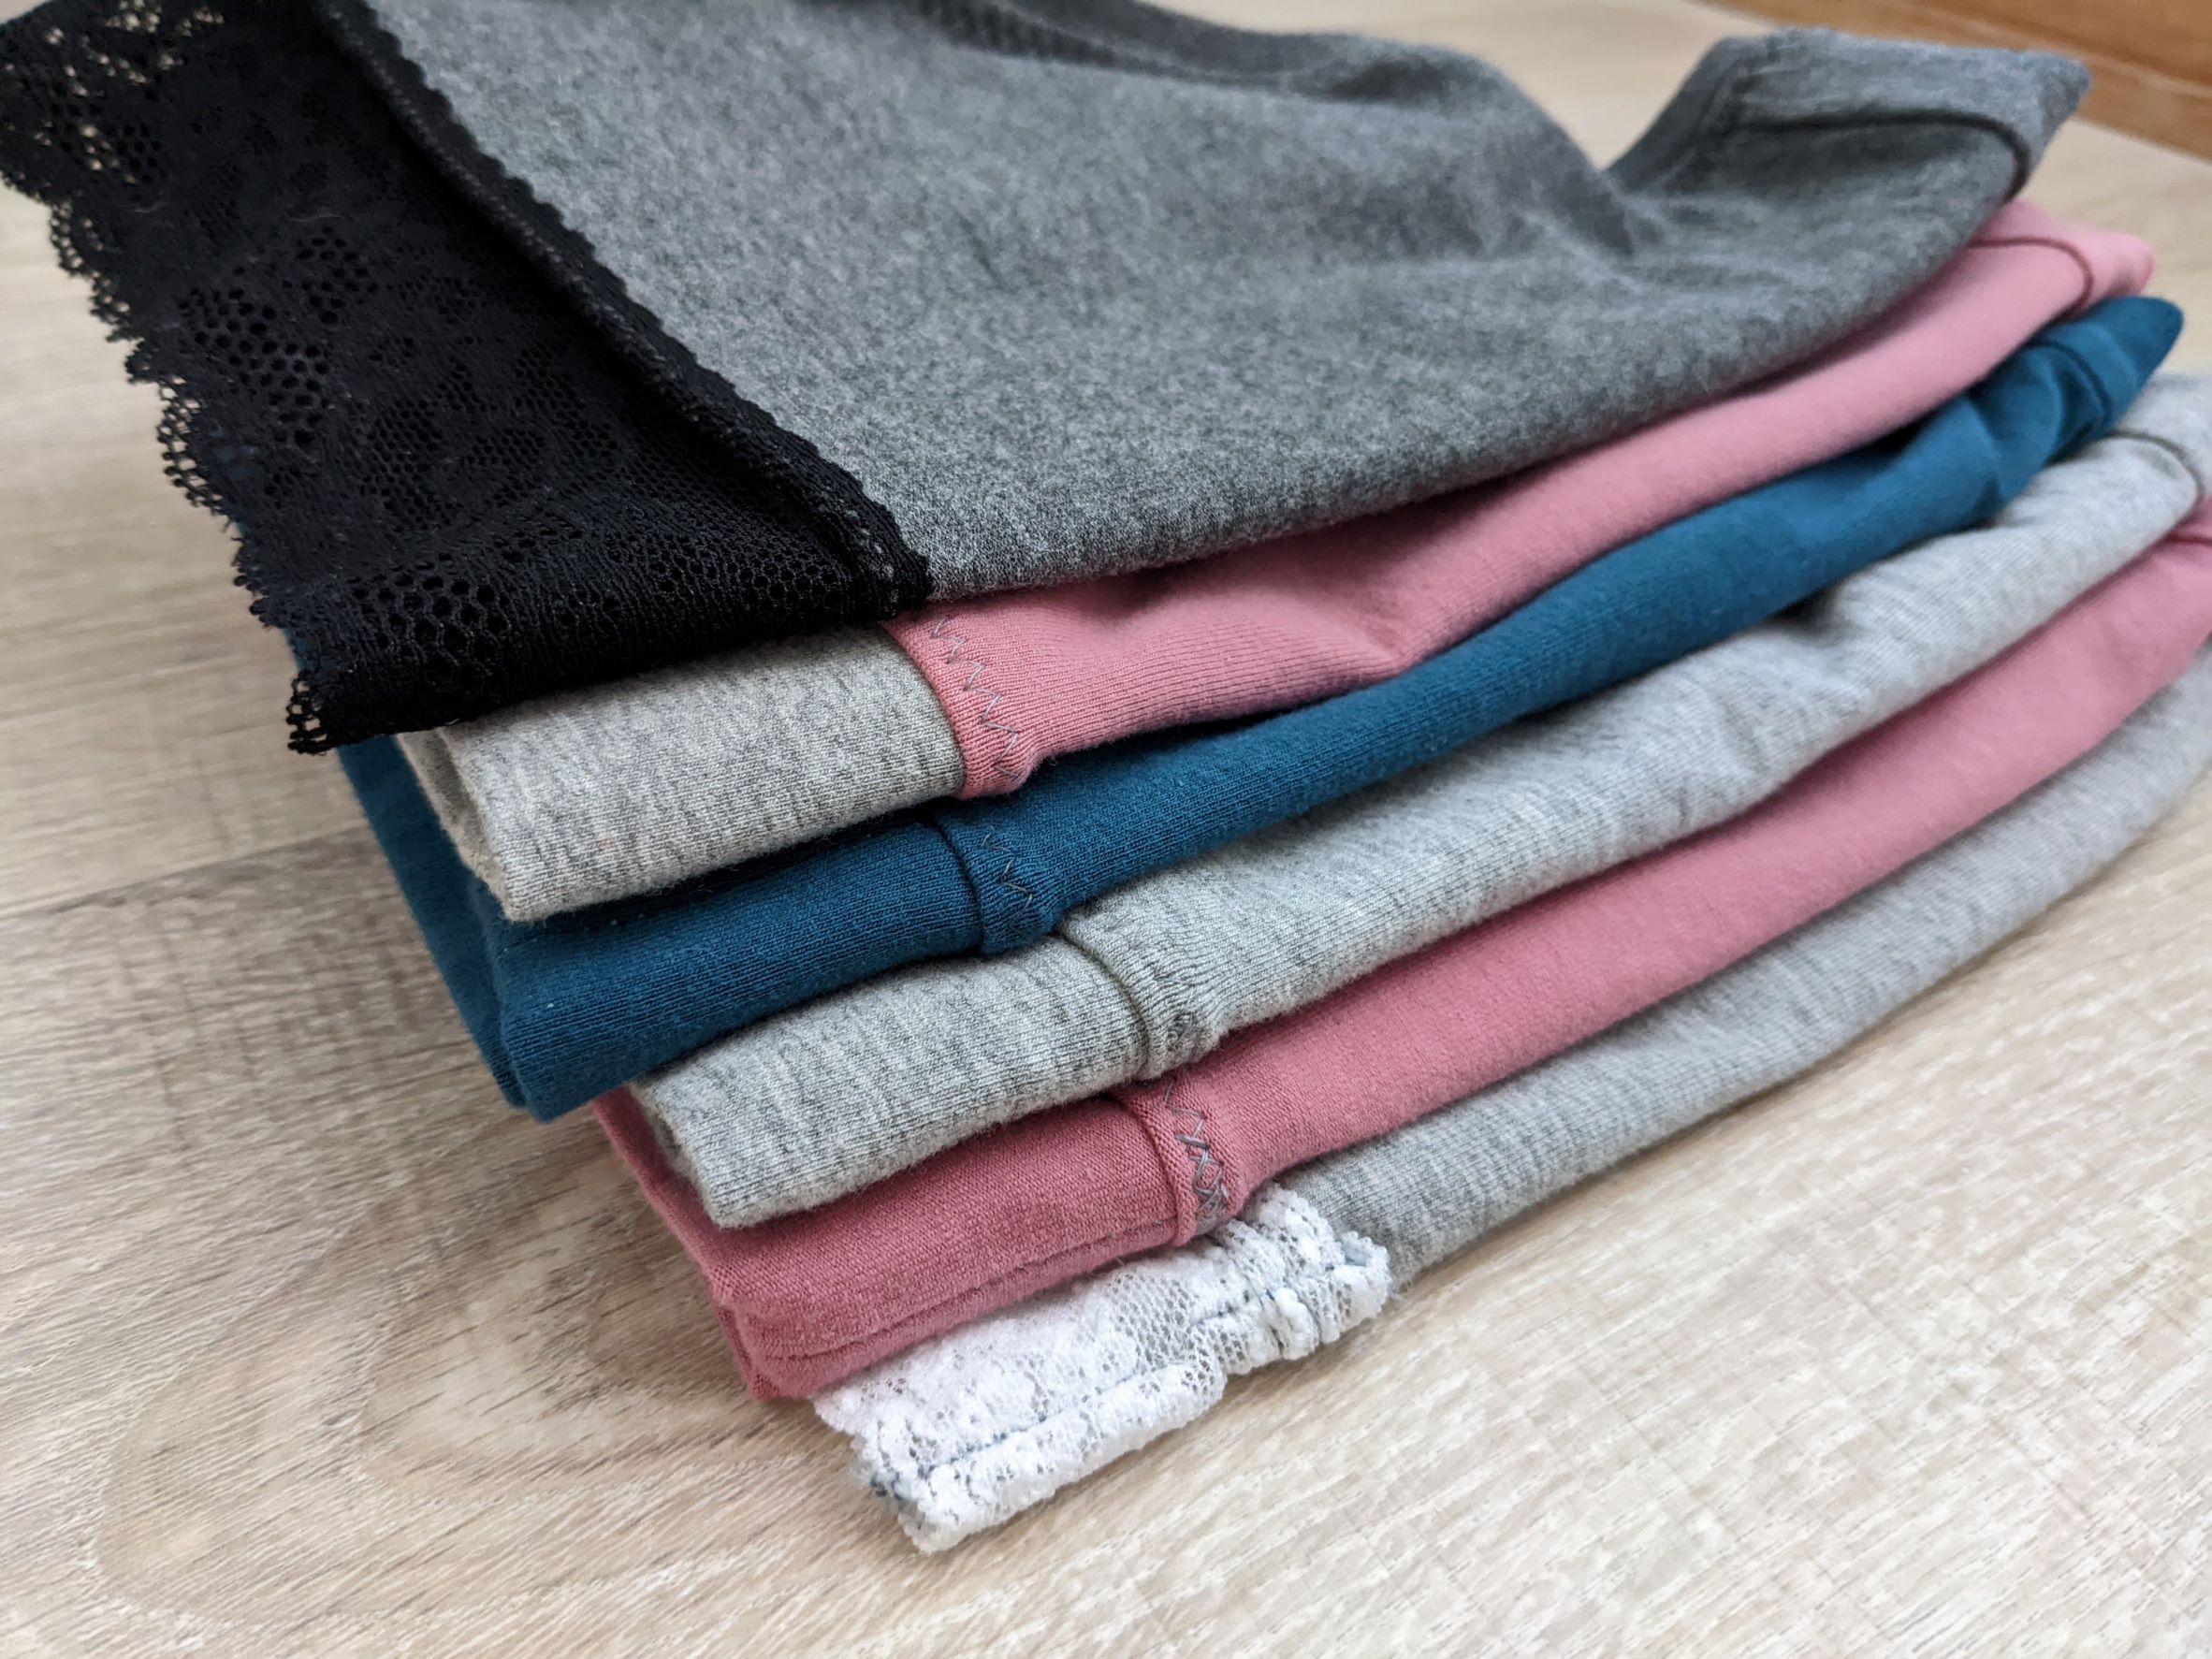
20 Pairs Later
I ended up not redrafting anything and made 4 more pairs with the lace waistband. They’re more than comfortable as-is.
My next idea is to see how a lighter weight cotton lycra would behave. 12 oz. is a pretty significant weight and I think is ideal for features like a control-top waistband. It still functions well in all 20 pairs I made and I’m incredibly happy to have a stash of underwear that only requires my thought as far as color choice in the morning. If you think I’m crazy for all the time I put into sewing my own underwear, I will tell you it’s 1000% worth it. I am saving myself from annoyance every morning and hours of discomfort throughout the day.
10 oz. Cotton Lycra Versions

- Same options as final with lace waistband
About the Fabric
- 1yd Nude Solid Cotton Spandex Knit Fabric from Girl Charlee
- Content: 95% Cotton/5% Spandex
- Weight: 10 oz Medium Weight
- Stretch: 60%, 30%
I’m not sure why but these weirdly ride up—at least the one pair I wore the other day did. Maybe it was a matter of pairing it with a dress, or maybe it’s the wider lace, or the lesser stretch percentages… I have no idea. The whole point of these was to have a set of nude-colored briefs to wear under lighter fabrics.
I attached the lace waistband with my usual lightning stitch on these, and then went over it again with a zig-zag topstitch close to the raw edge of the cotton lycra to prevent the fabric from rolling. I like how it turns out better than when I use a twin needle.
Project Settings
Sewing Machine
Presser Foot |
Stitch# |
Width |
Length |
Needle |
Top Thread Tension |
Application |
|---|---|---|---|---|---|---|
standard zig-zag (A) |
5 |
1.0 |
4 |
blue tip |
4 |
seams |
standard zig-zag (A) |
6 |
4 |
3.5 |
blue tip |
4 |
topstitch |
standard zig-zag (A) |
1 |
3.5 |
3.5 |
twin stretch |
4 |
waistband lace |
Serger
Stitch |
Needles |
Finger |
Threads |
Tension LN |
Tension RN |
Tension UL |
Tension LL |
Cut Width |
Stitch Width |
Differential |
|---|---|---|---|---|---|---|---|---|---|---|
super stretch |
R, L |
B |
3 |
3 |
2.5 |
— |
0.5* |
6 |
2.5 |
1.5 |
*Woolly nylon
Leave a Reply